DCS218 - Operating Systems Lab 2021 Spring
前言
本文章介绍了在 Linux 虚拟机上搭建操作系统内核开发环境、编译 Linux 内核、使用 Qemu 启动内核并开启远程调试、制作Initramfs 并编译并启动 Busybox 的过程。
目的
- 熟悉现有 Linux 内核的编译过程和启动过程,并在自行编译内核的基础上构建简单应用并启动。
- 利用精简的 Busybox 工具集构建简单的操作系统,熟悉现代操作系统的构建过程。
- 熟悉编译环境、相关工具集,并能够实现内核远程调试。
过程
1. 搭建操作系统内核开发环境
由于此前已经在 Vmware Workstation 15.5 Pro 上安装了 Ubuntu 20.04 LTS 64-bit ,故不用推荐的 18.04,问题不大。需要安装的还有:
- nasm Netwide Assembler,一款x86汇编和反汇编软件
- qemu 可以模拟多种架构处理器
- cmake
- bison 用于自动生成语法分析器程序
- flex 是一个生成词法分析器的工具,它可以利用正则表达式来生成匹配相应字符串的C语言代码
- libssl-dev 是 OpenSSL 通用库,Secure Socket Layer 是为了传输敏感数据而提出的协议
- libncurses5-dev shared libraries for terminal handling
- libc6-dev-i386 32-bit shared libraries for AMD64
2. 编译 Linux 内核
-
在根目录创建
os2021/lab1文件夹并进入,到 https://www.kernel.org/ 下载内核 5.10 到文件夹~/os2021/lab1。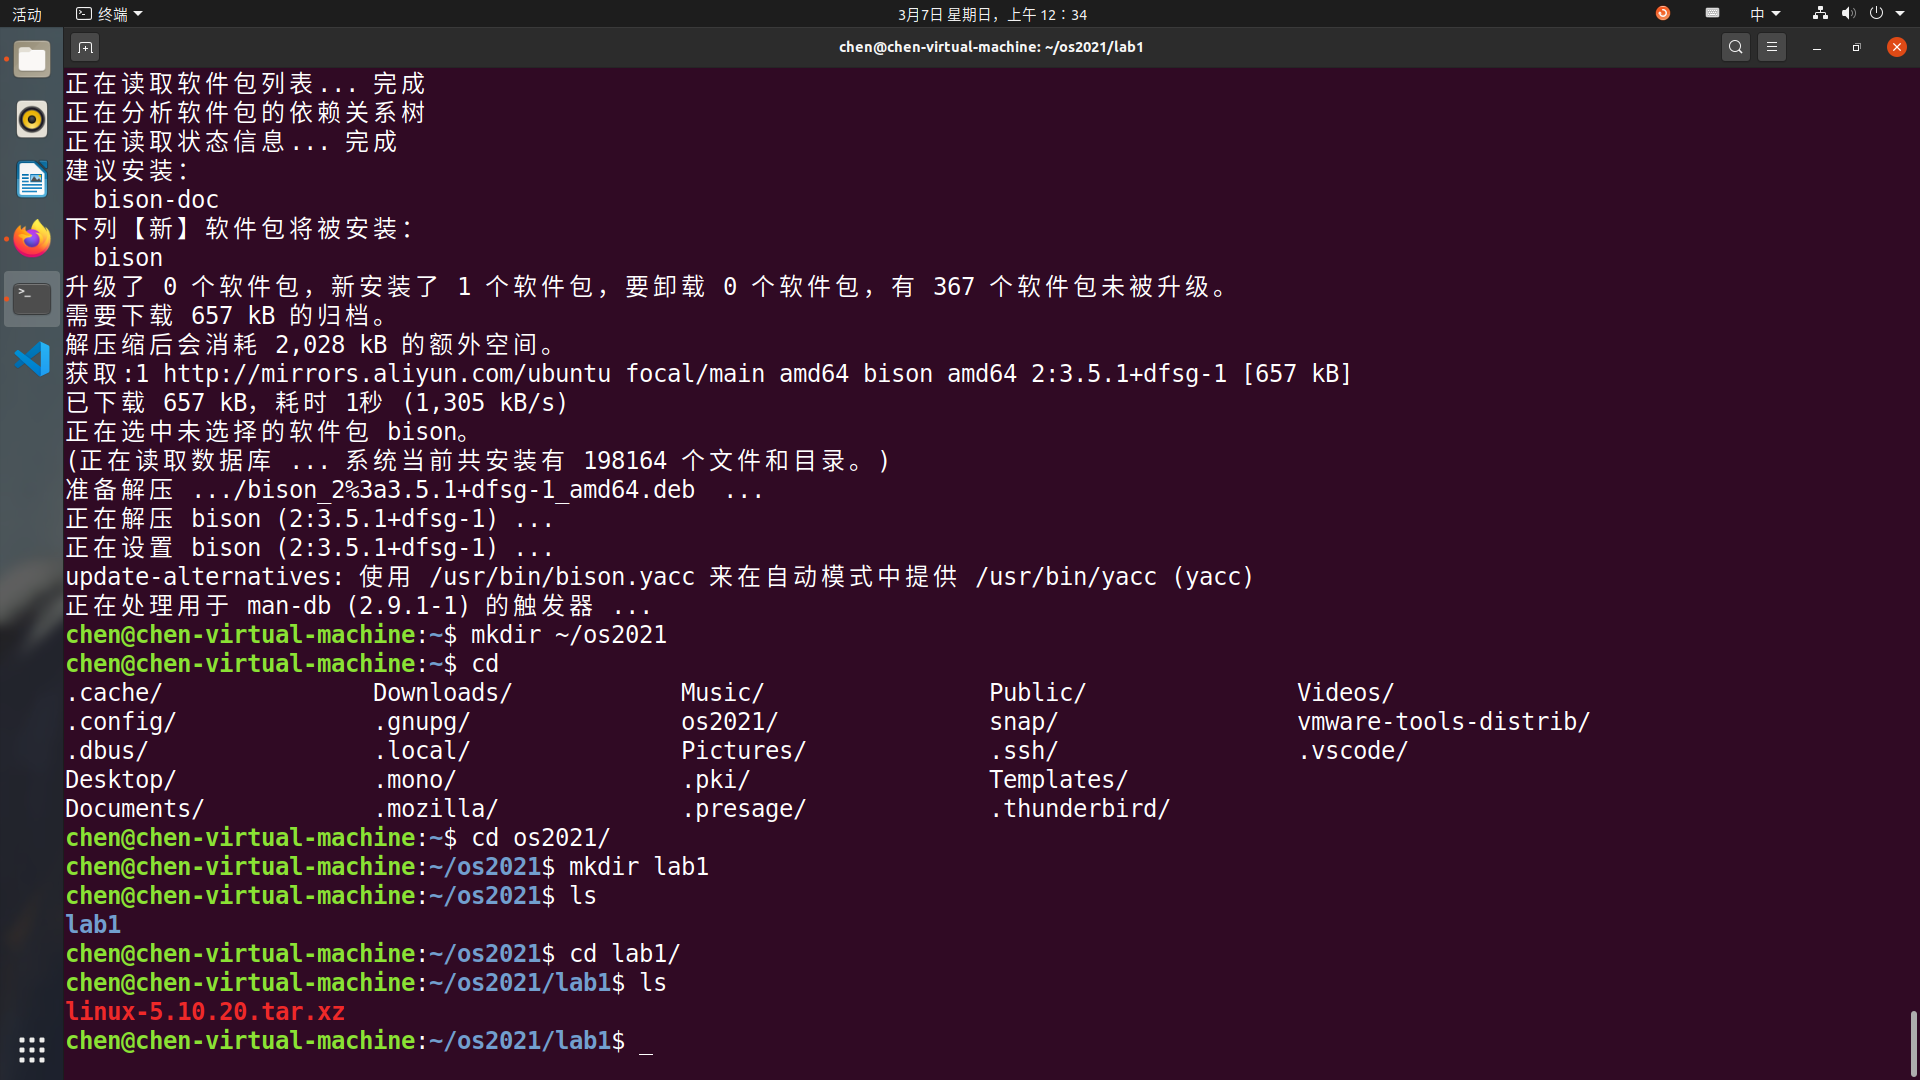
解压并进入。
0
1
2
 xz -d linux-5.10.20.tar.xz
 tar -xvf linux-5.10.20.tar
 cd linux-5.10.20
-
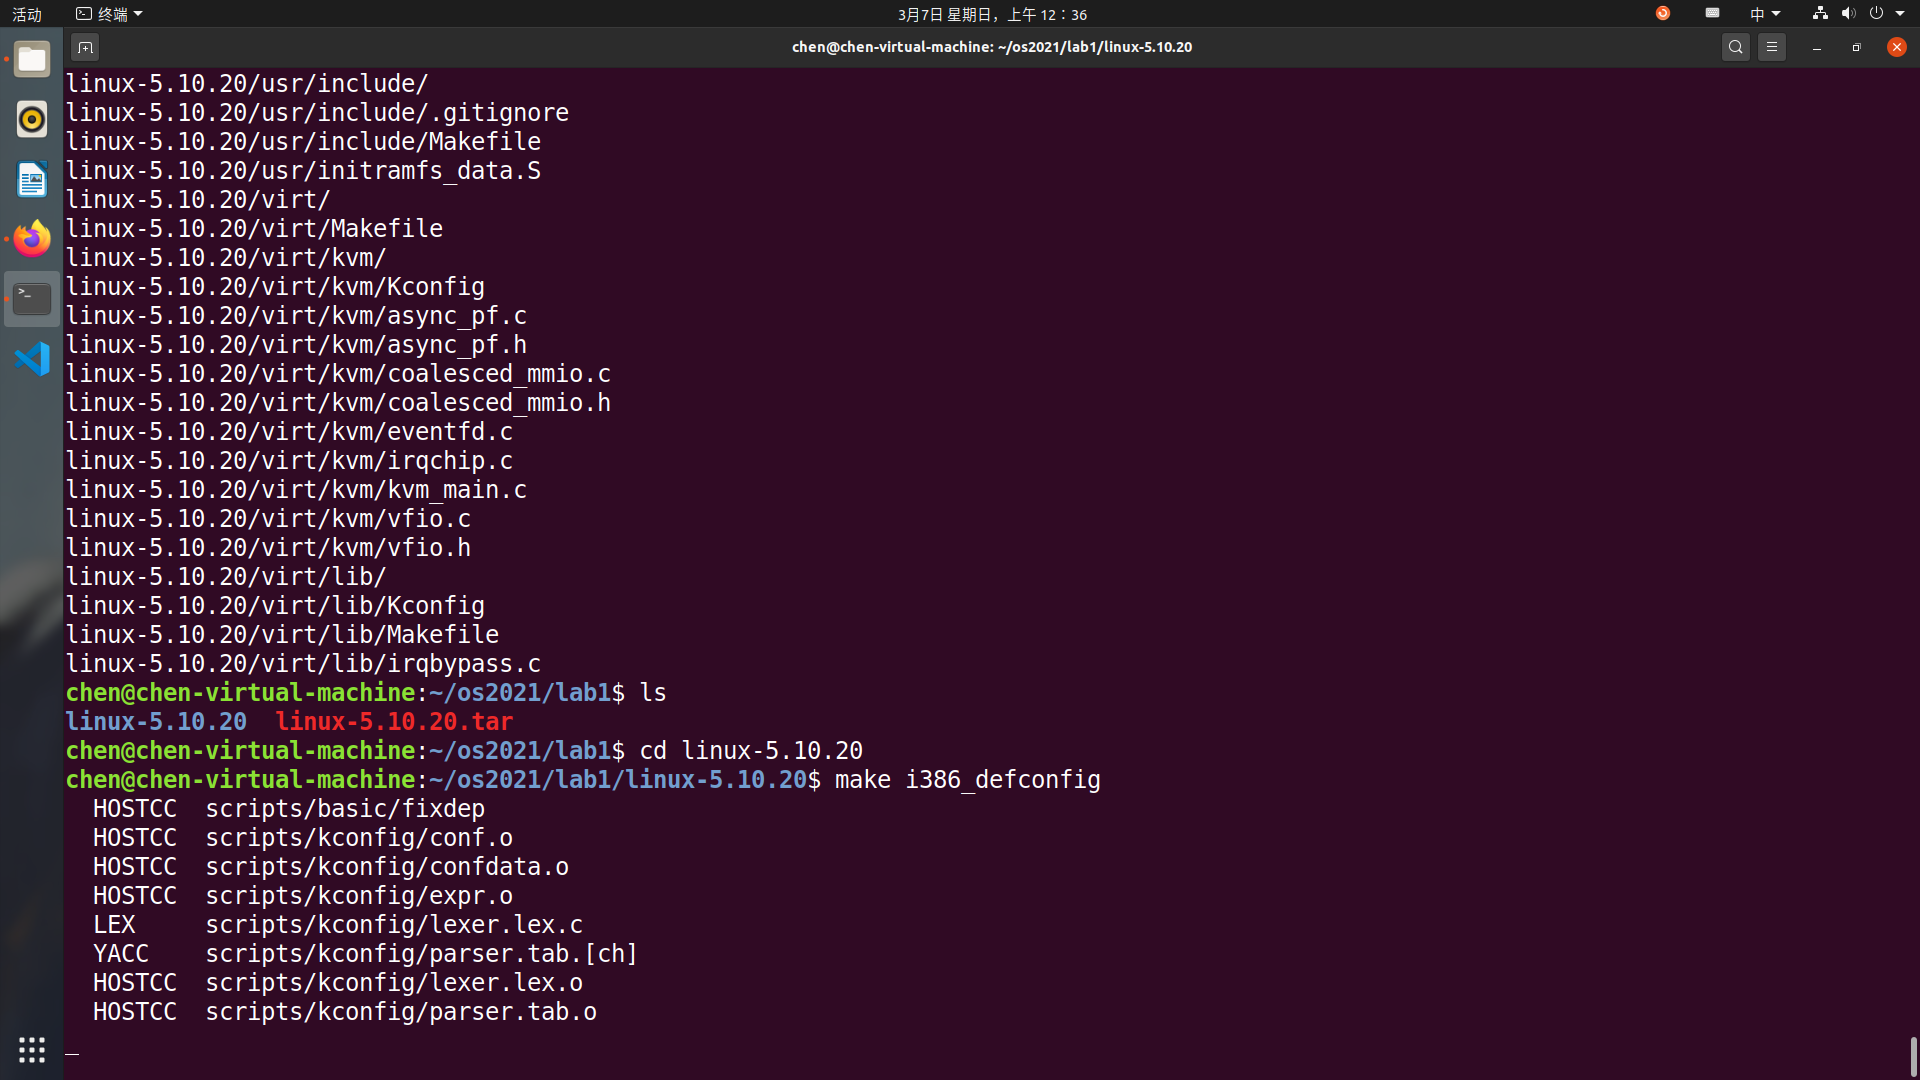
将内核编译为
i386 32-bit版本0 1
make i386_defconfig make menuconfig
在打开的图像界面中依次选择
Kernel hacking、Compile-time checks and compiler options,最后在[ ] Compile the kernel with debug info输入Y勾选,保存退出。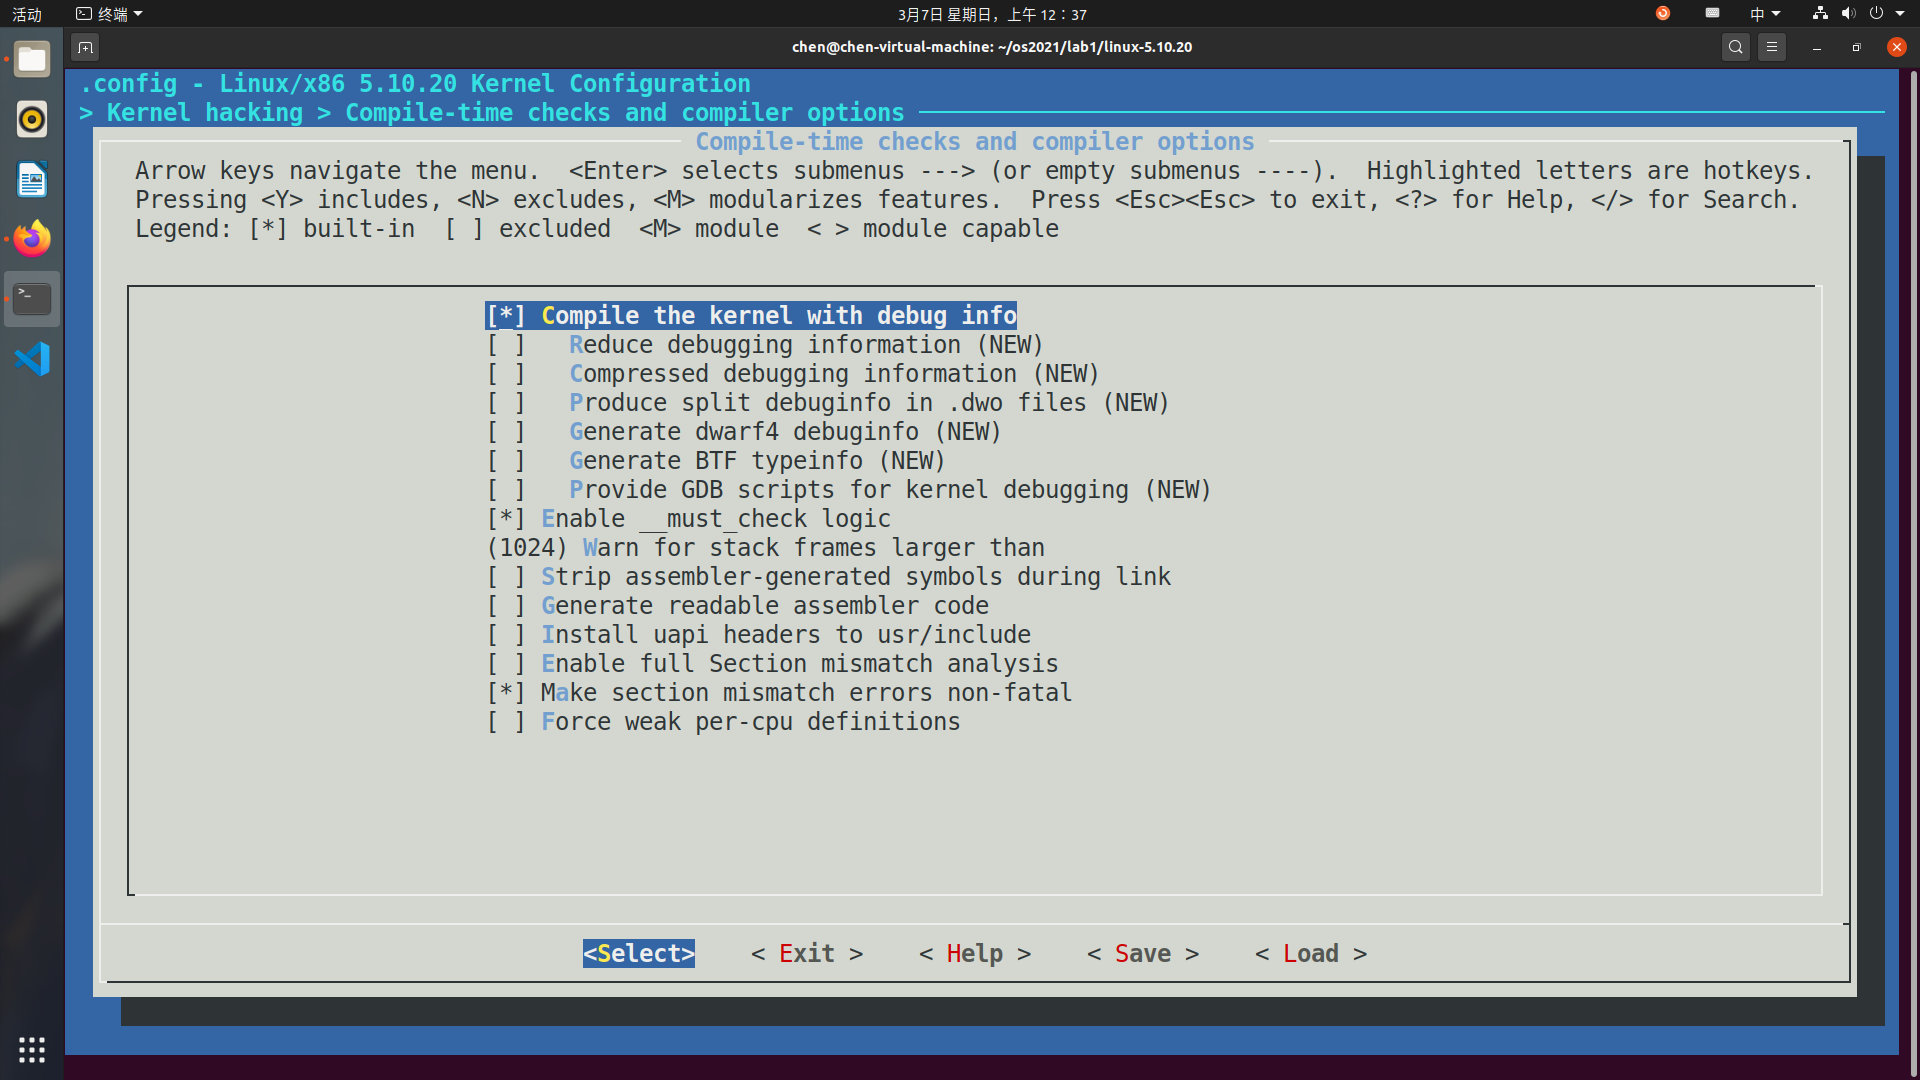
编译内核。
0
 make -j8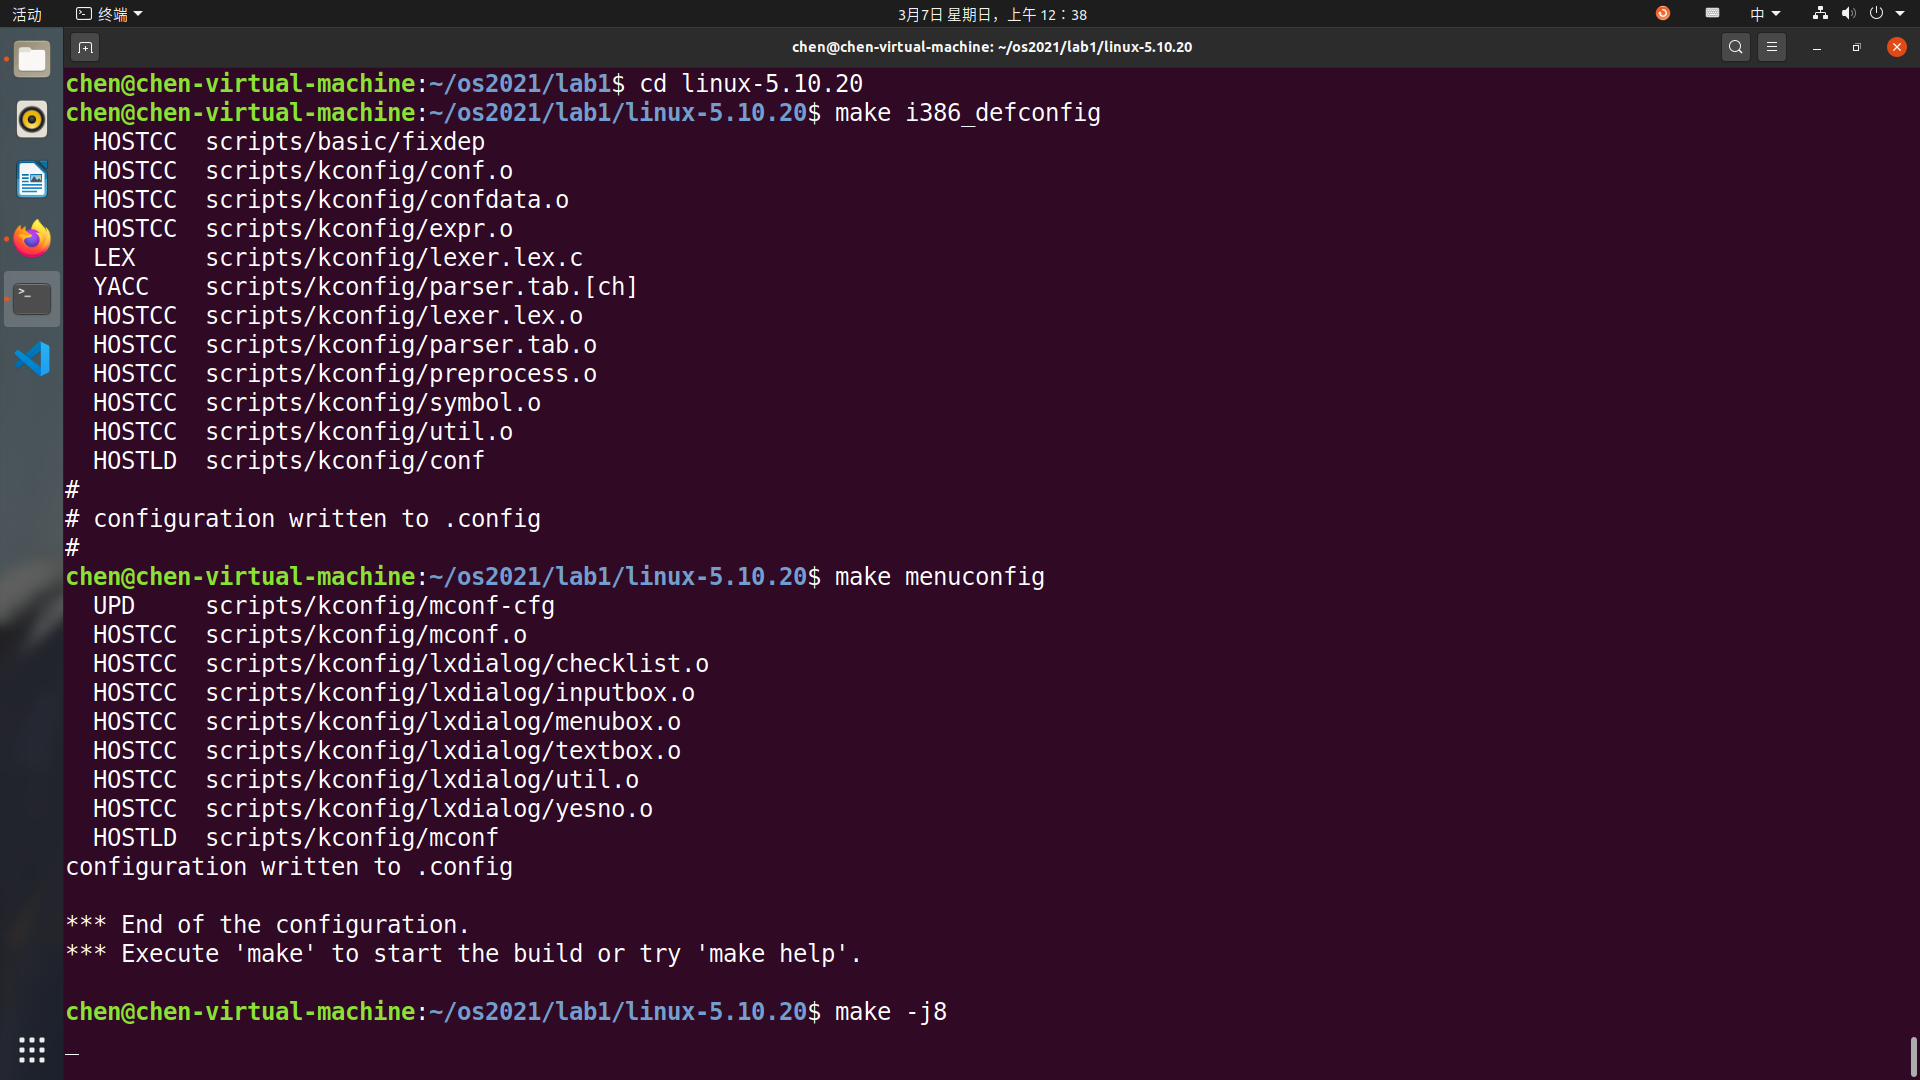
等待内核编译完成,检查Linux压缩镜像
linux-5.10.20/arch/x86/boot/bzImage和符号表linux-5.10.20/vmlinux是否已经生成。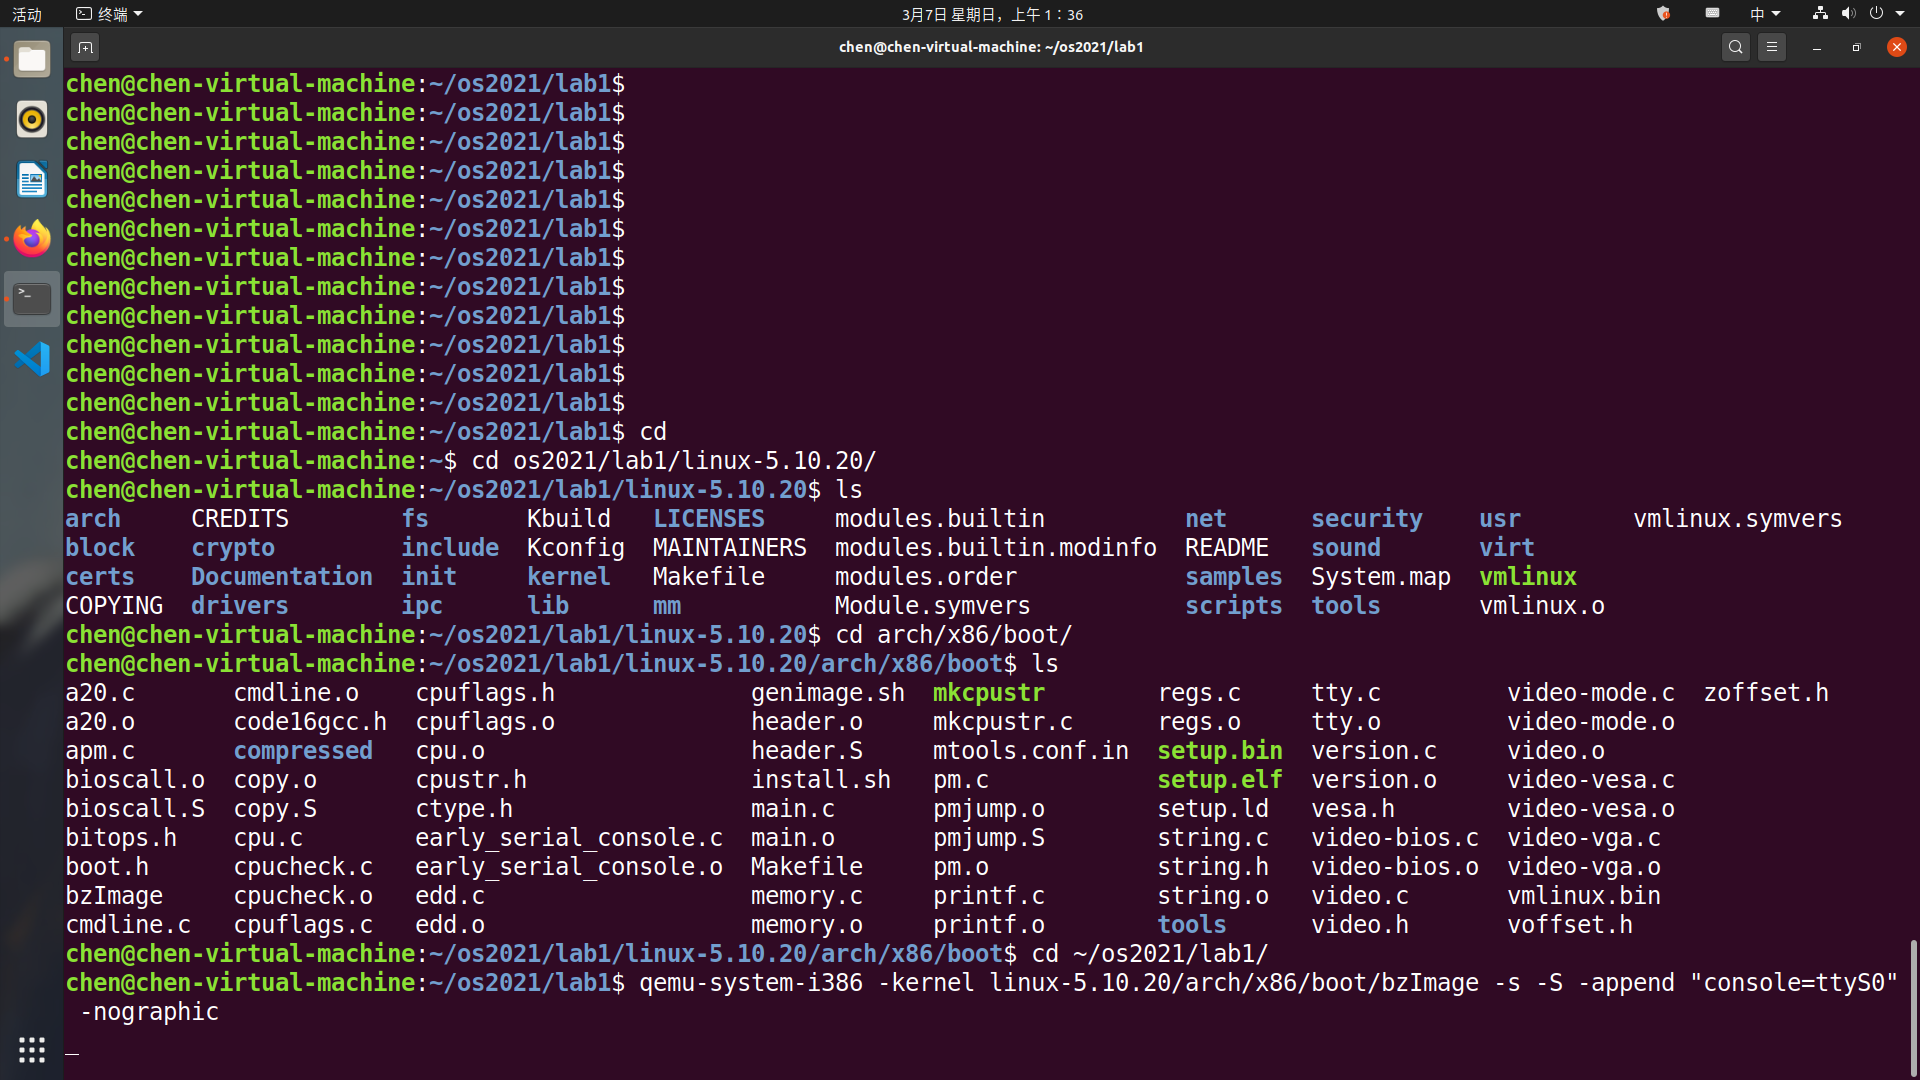
可以看到已经生成了。
3. 启动内核并调试
-
使用 qemu 启动内核
0
 qemu-system-i386 -kernel linux-5.10.20/arch/x86/boot/bzImage -s -S -append "console=ttyS0" -nographic
此时 qemu 并未输出任何信息,这是因为我们开启了 gdb 调试,而 qemu 在等待 gdb 输入的指令后才能继续执行。接下来启动 gdb,通过 gdb 来告诉 qemu 应该怎么做。
-
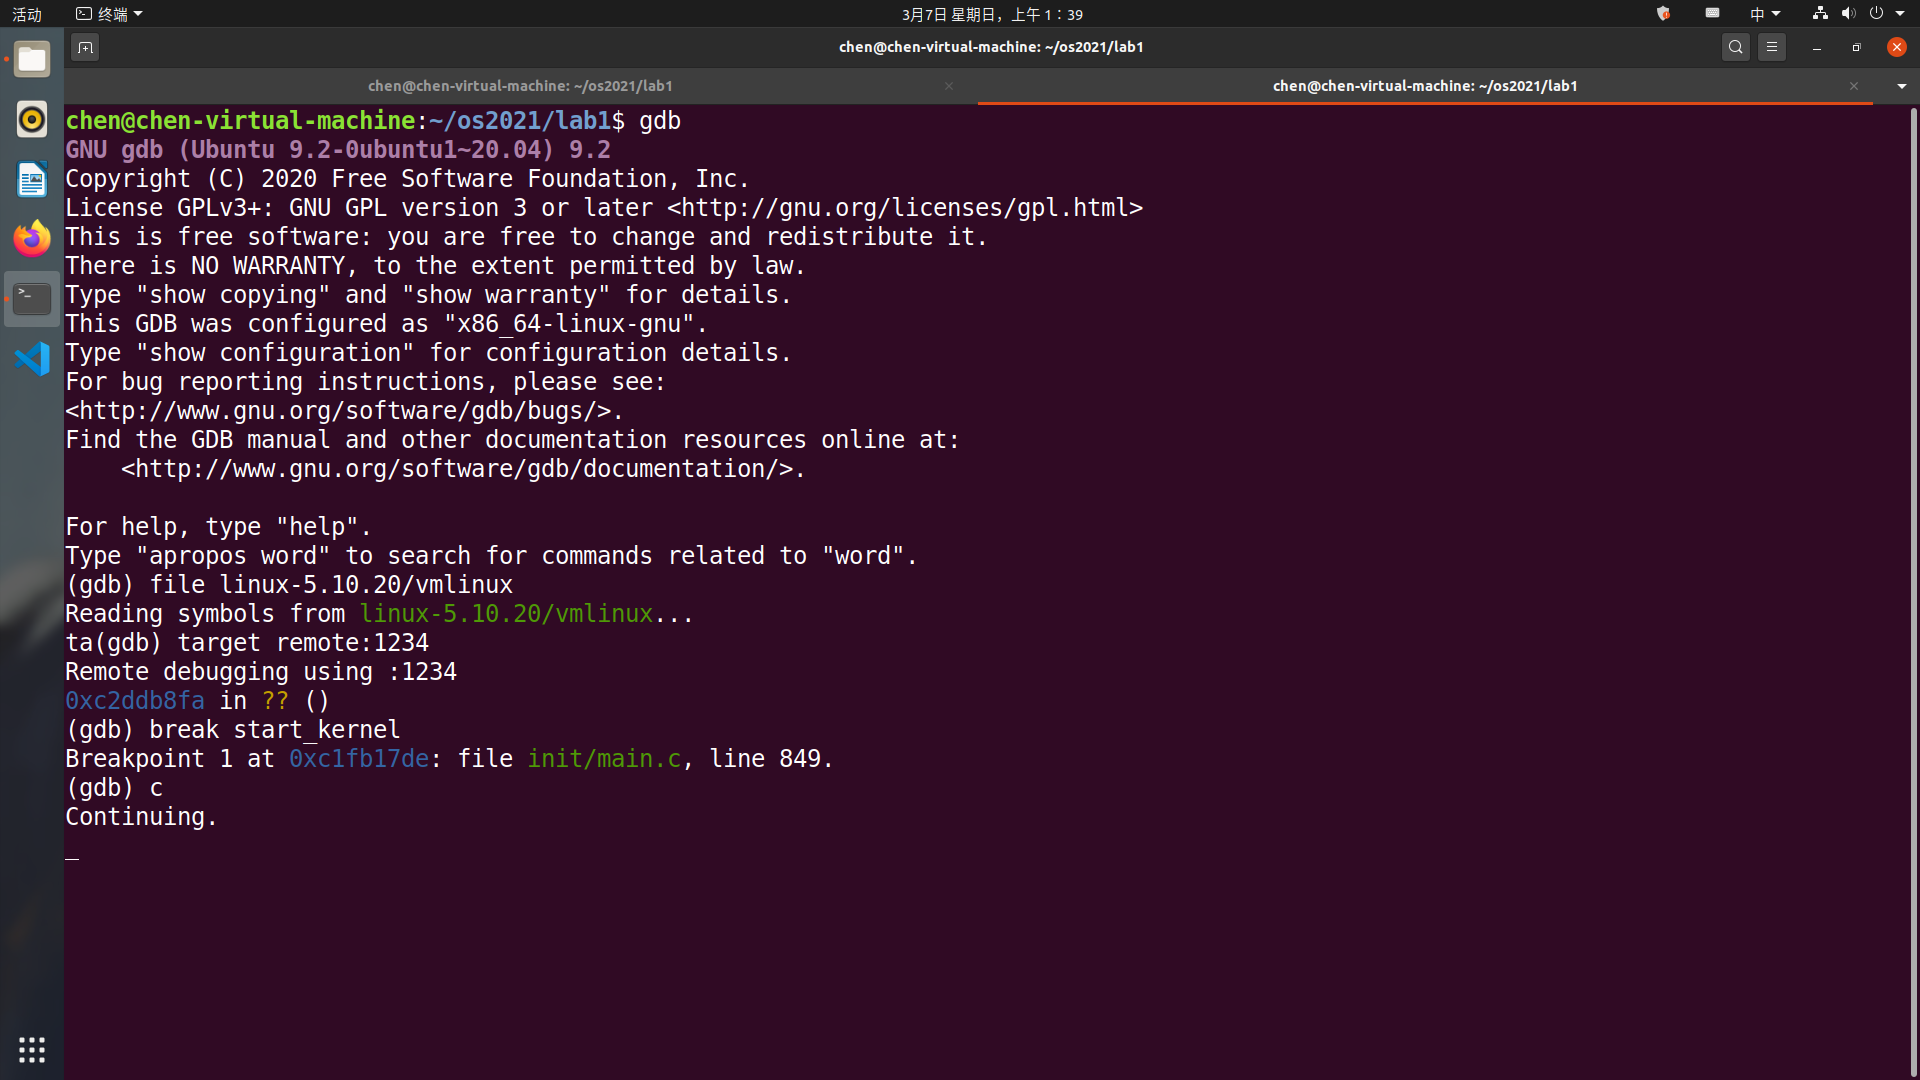
使用 gdb 开启远程调试
不关闭qemu所在的Terminal,在另外一个 Terminal 下启动 gdb ,加载符号表,连接已经启动的 qemu 进行调试,为 start_kernel 函数设置断点,输入
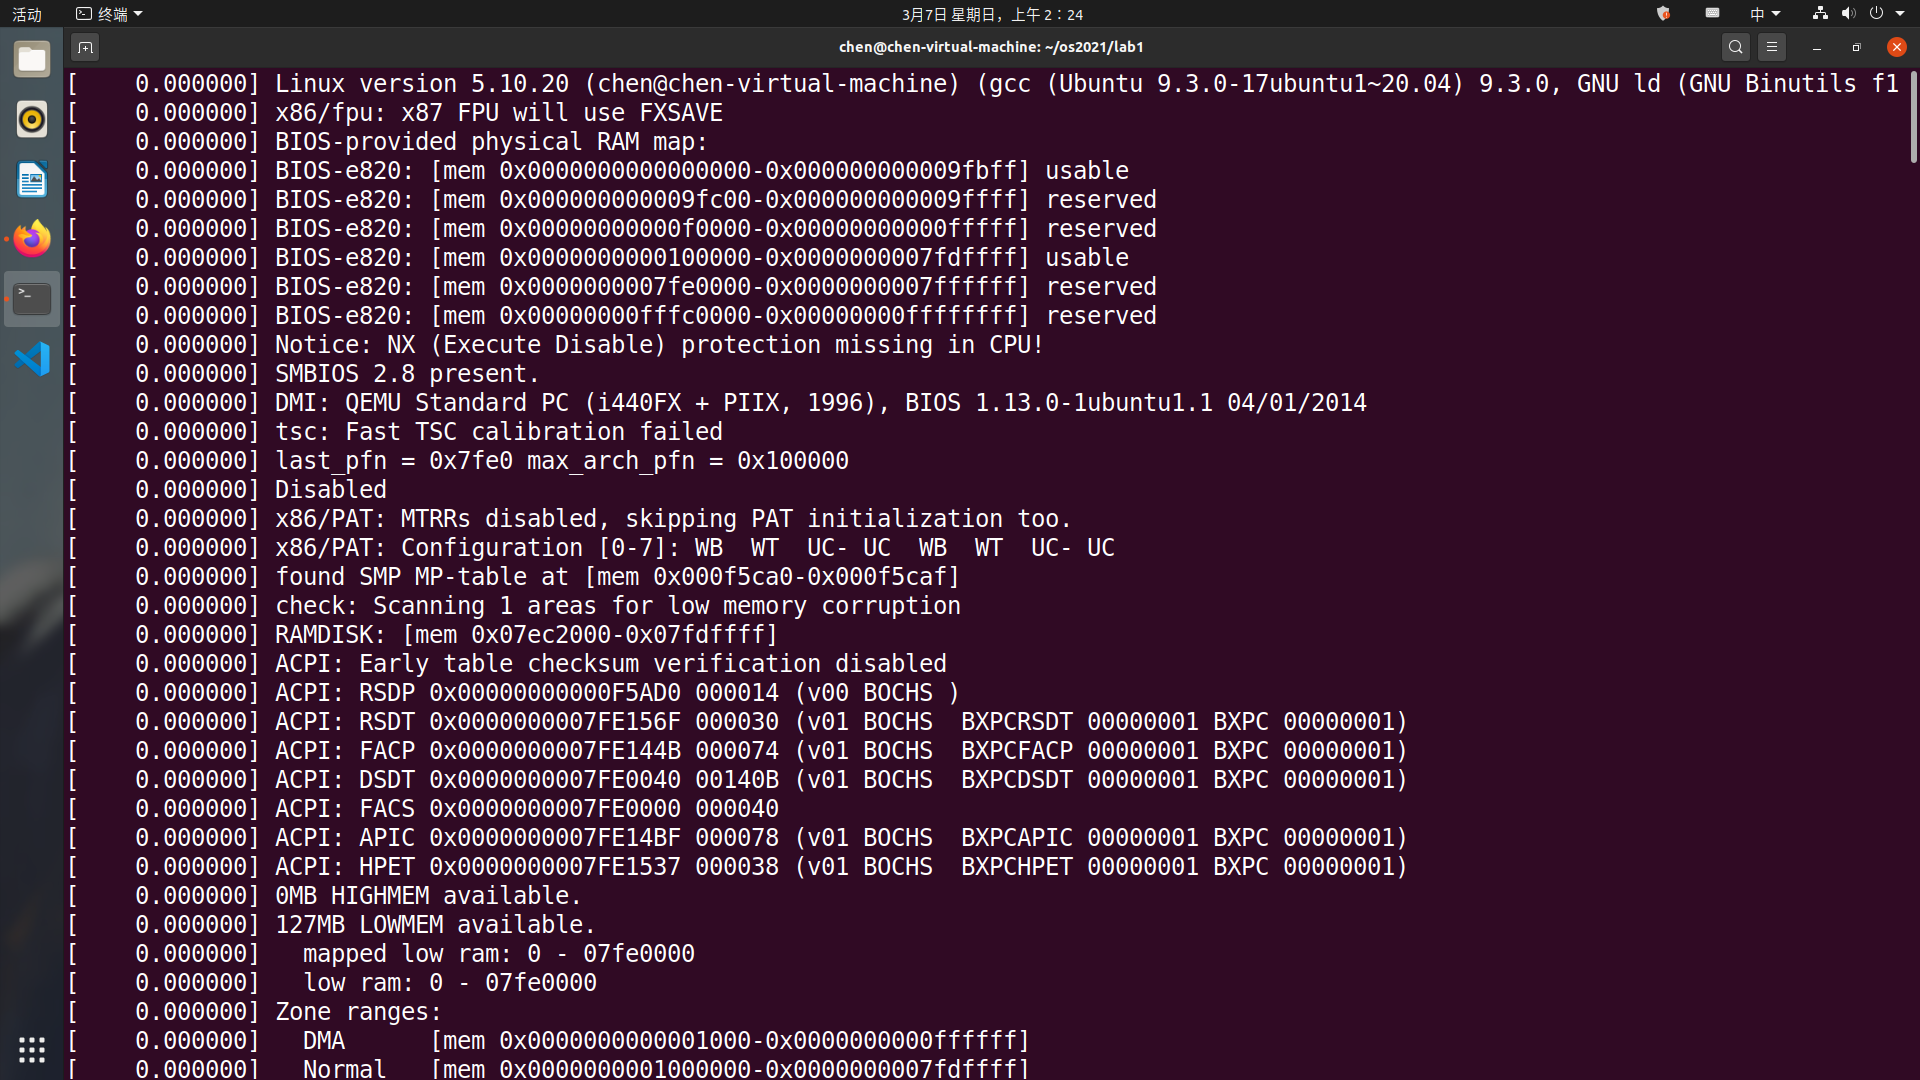
c运行。回到 qemu 的 terminal,输出如下。
发现内核成功启动并最终以 Kernel panic 宣告结束。
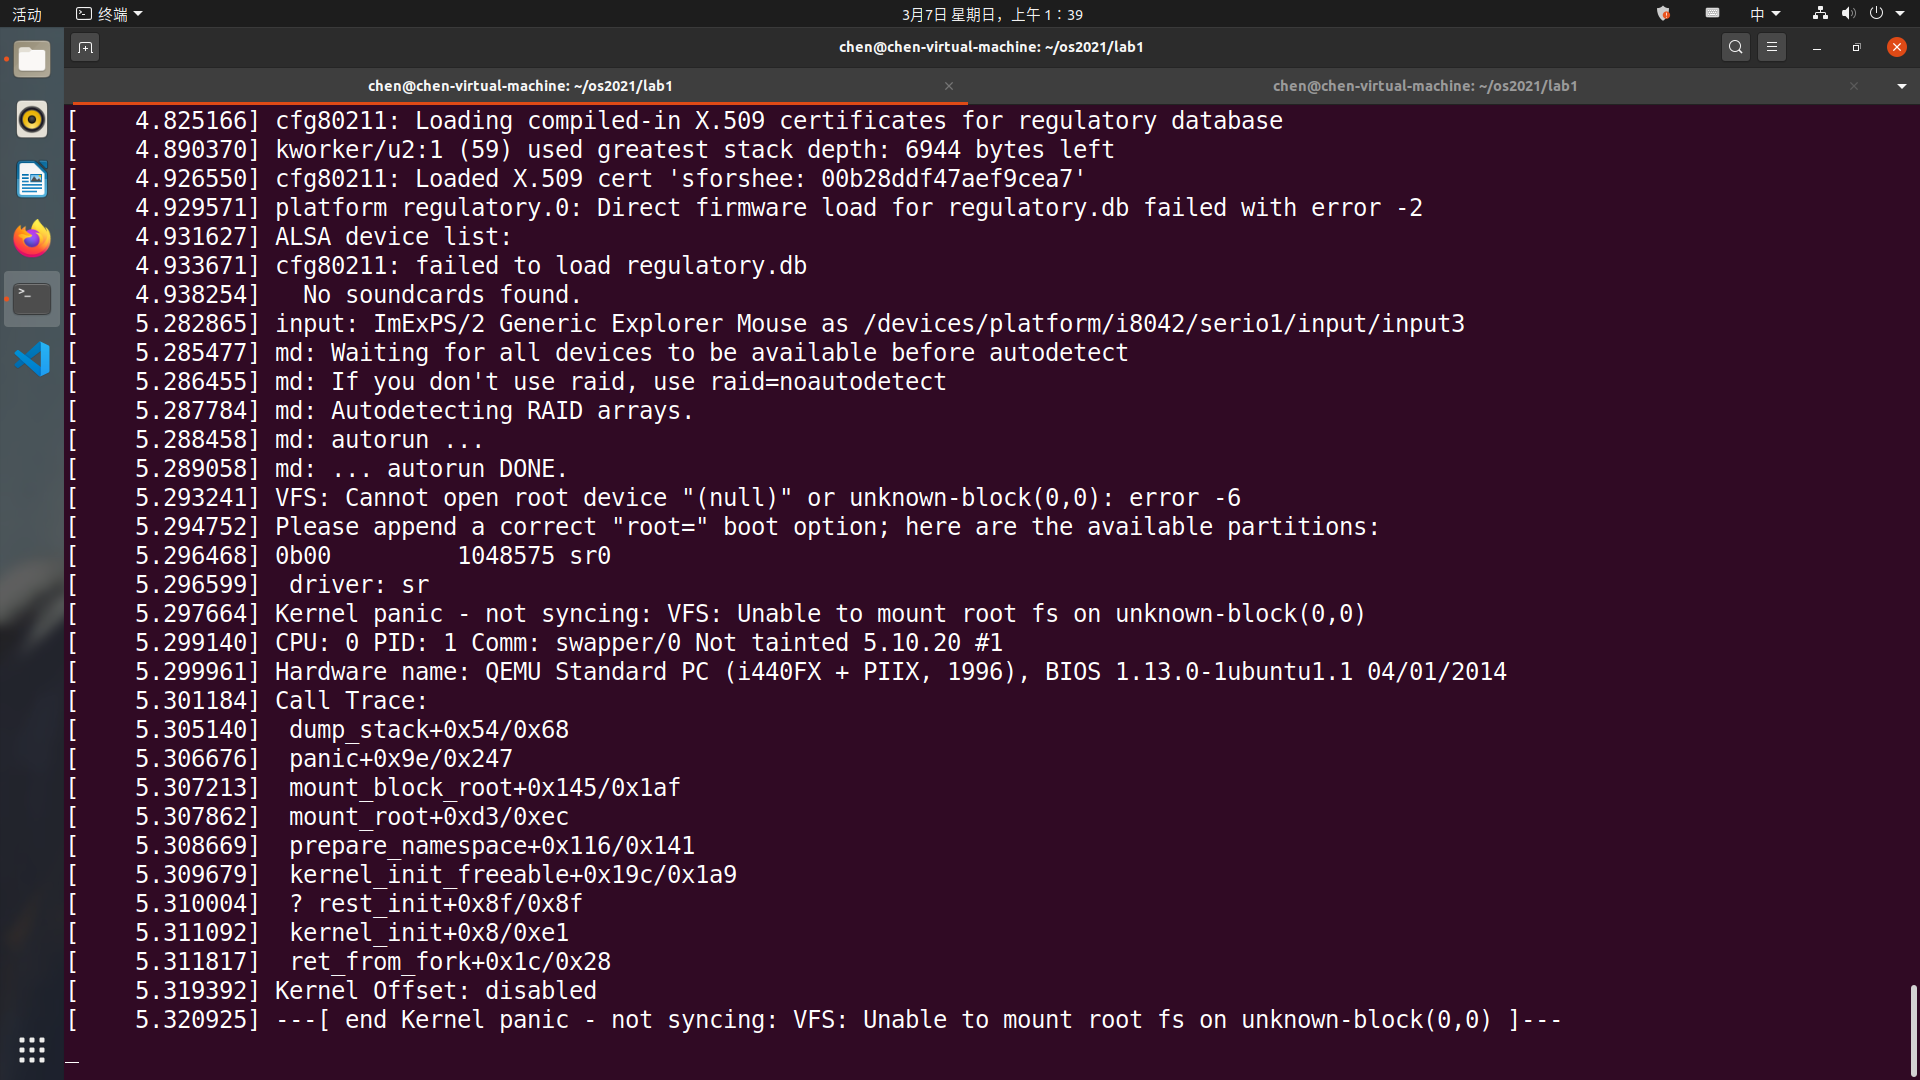 看到 call trace 打出来的是在 initrd_load 的时候出错,原因很简单,因为启动系统的时候只指定了 bzImage ,没有指定 initrd 文件,系统无法 mount 上 initrd (init ram disk) 及其 initramfs 文件系统。
4. 制作 initramfs
-
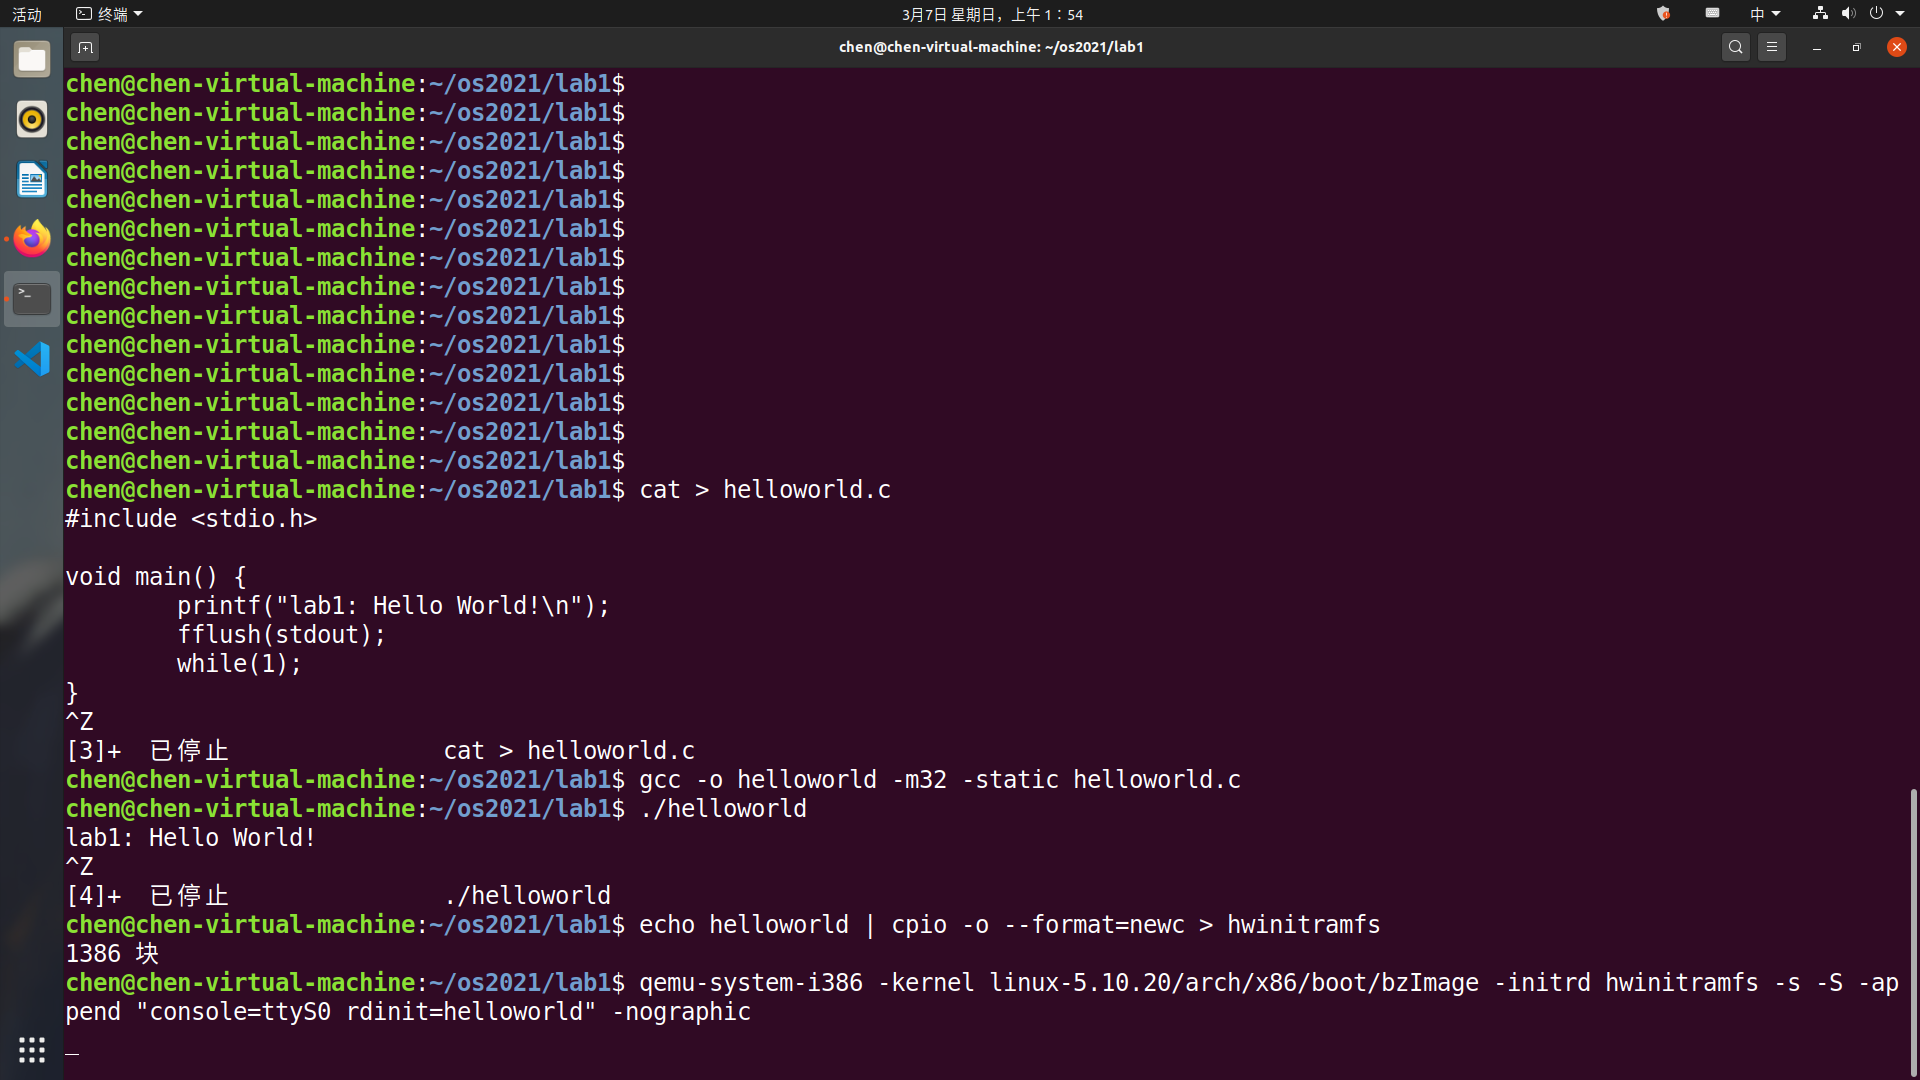
在
lab1文件夹中新建helloworld.c文件,写入以下代码0 1 2 3 4 5 6 7
#include <stdio.h> void main() { printf("lab1: Hello World!\n"); fflush(stdout); while(1); }
然后编译为 32-bit 可执行文件。
0
 gcc -o helloworld -m32 -static helloworld.c
-
加载 initramfs
用 cpio 打包 initramfs
0
 echo helloworld | cpio -o --format=newc > hwinitramfs
启动内核并加载 initramfs。
0
 qemu-system-i386 -kernel linux-5.10.20/arch/x86/boot/bzImage -initrd hwinitramfs -s -S -append "console=ttyS0 rdinit=helloworld" -nographic
重复上面的gdb的调试过程,可以看到gdb中输出了
lab1: Hello World!\n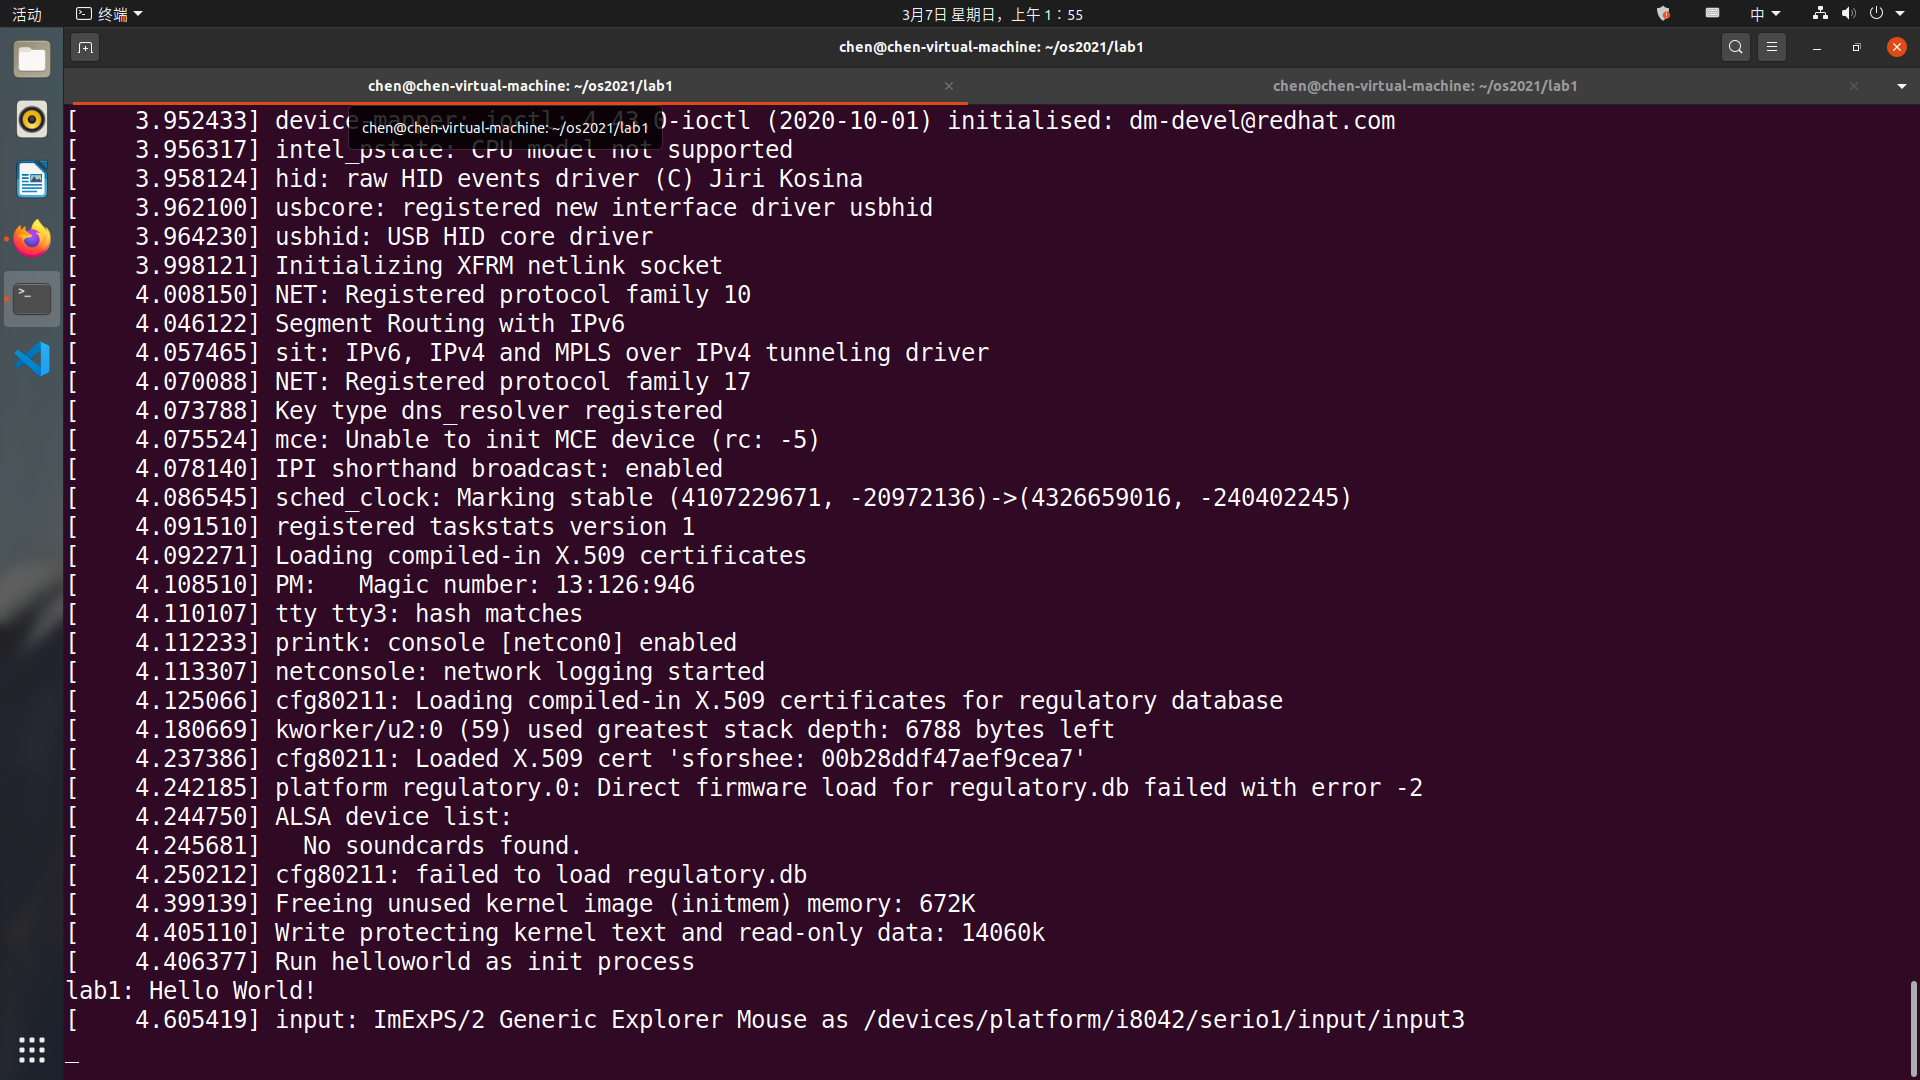
5. 编译并启动 Busybox
-
下载 Busybox 到
lab1并解压。 -
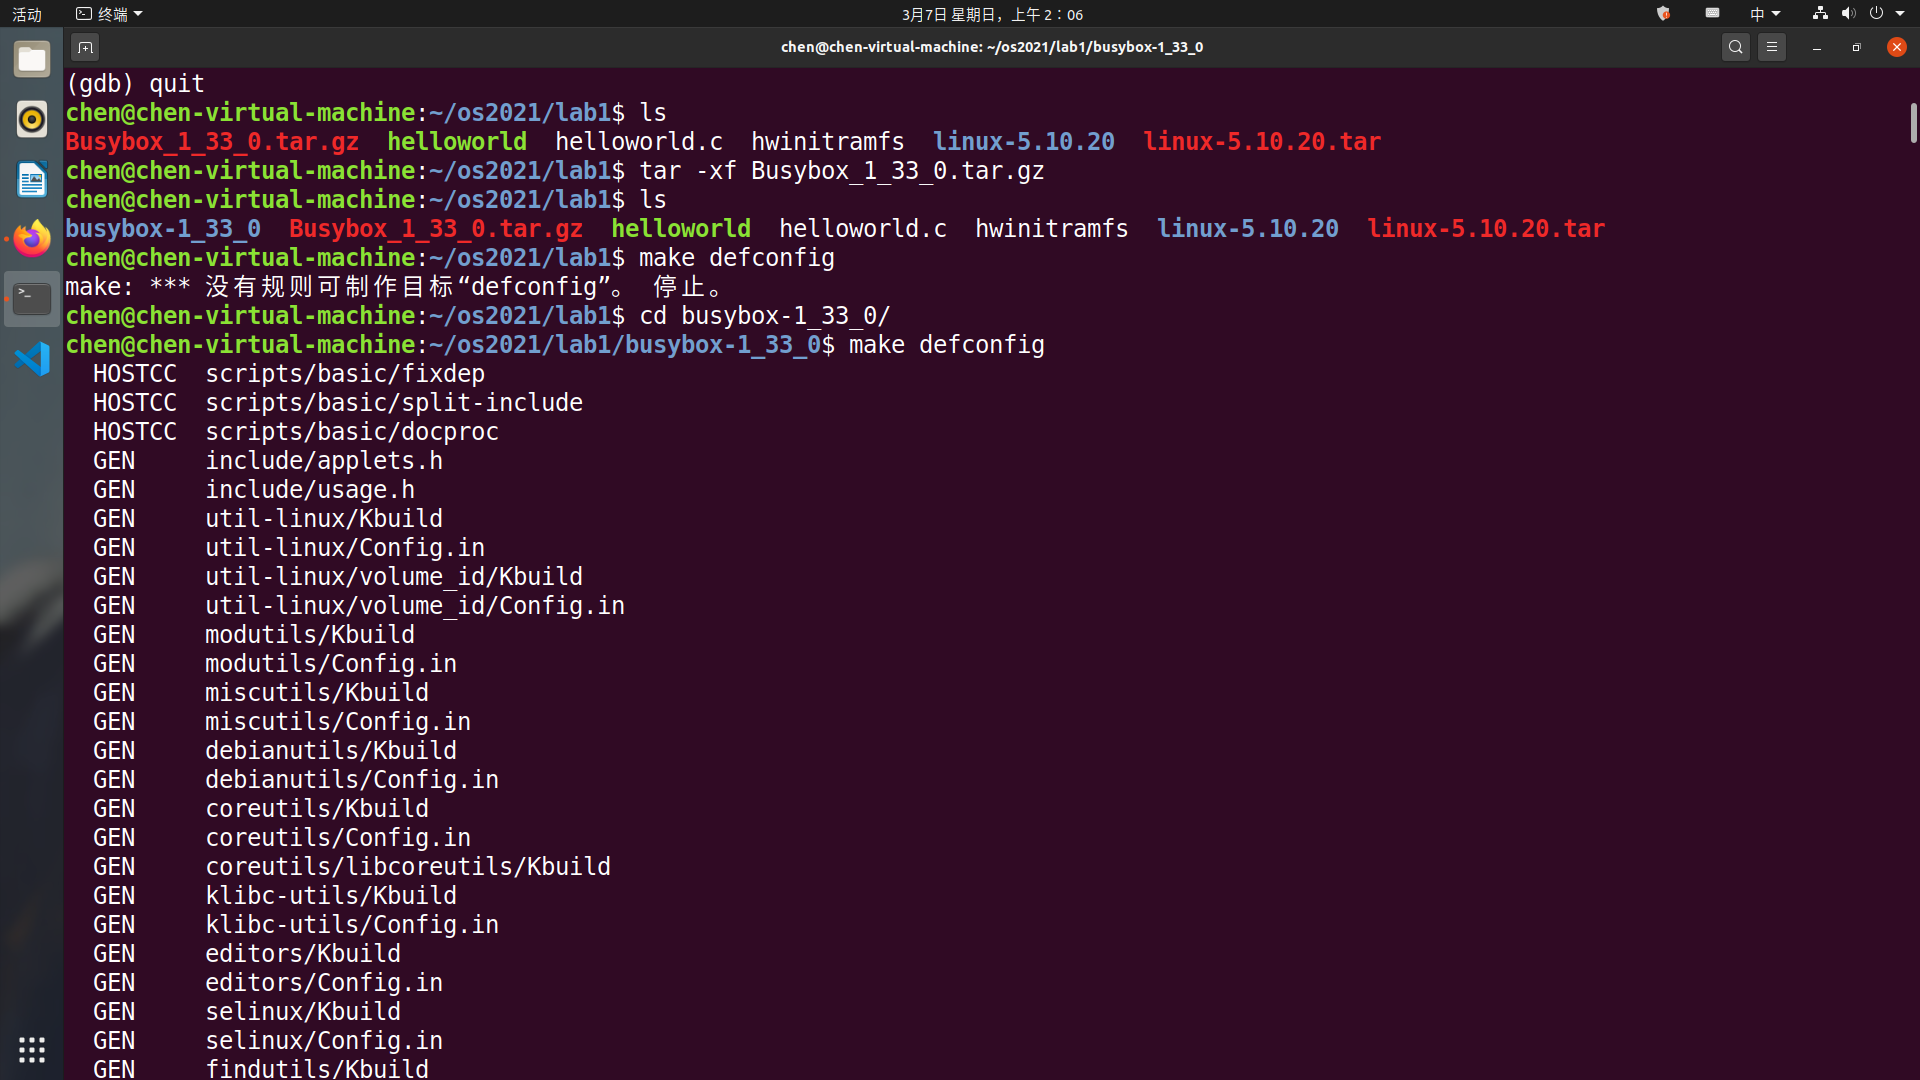
编译它
0
1
 make defconfig
 make menuconfig
-
进入
settings,然后在Build static binary(no shared libs)处输入Y勾选,然后分别设置() Additional CFLAGS和() Additional LDFLAGS为(-m32 -march=i386) Additional CFLAGS和(-m32) Additional LDFLAGS,保存退出。
编译。
0
1
 make -j8
 make install
-
制作Initramfs
-
将安装在_install目录下的文件和目录取出放在
lab1/mybusybox处。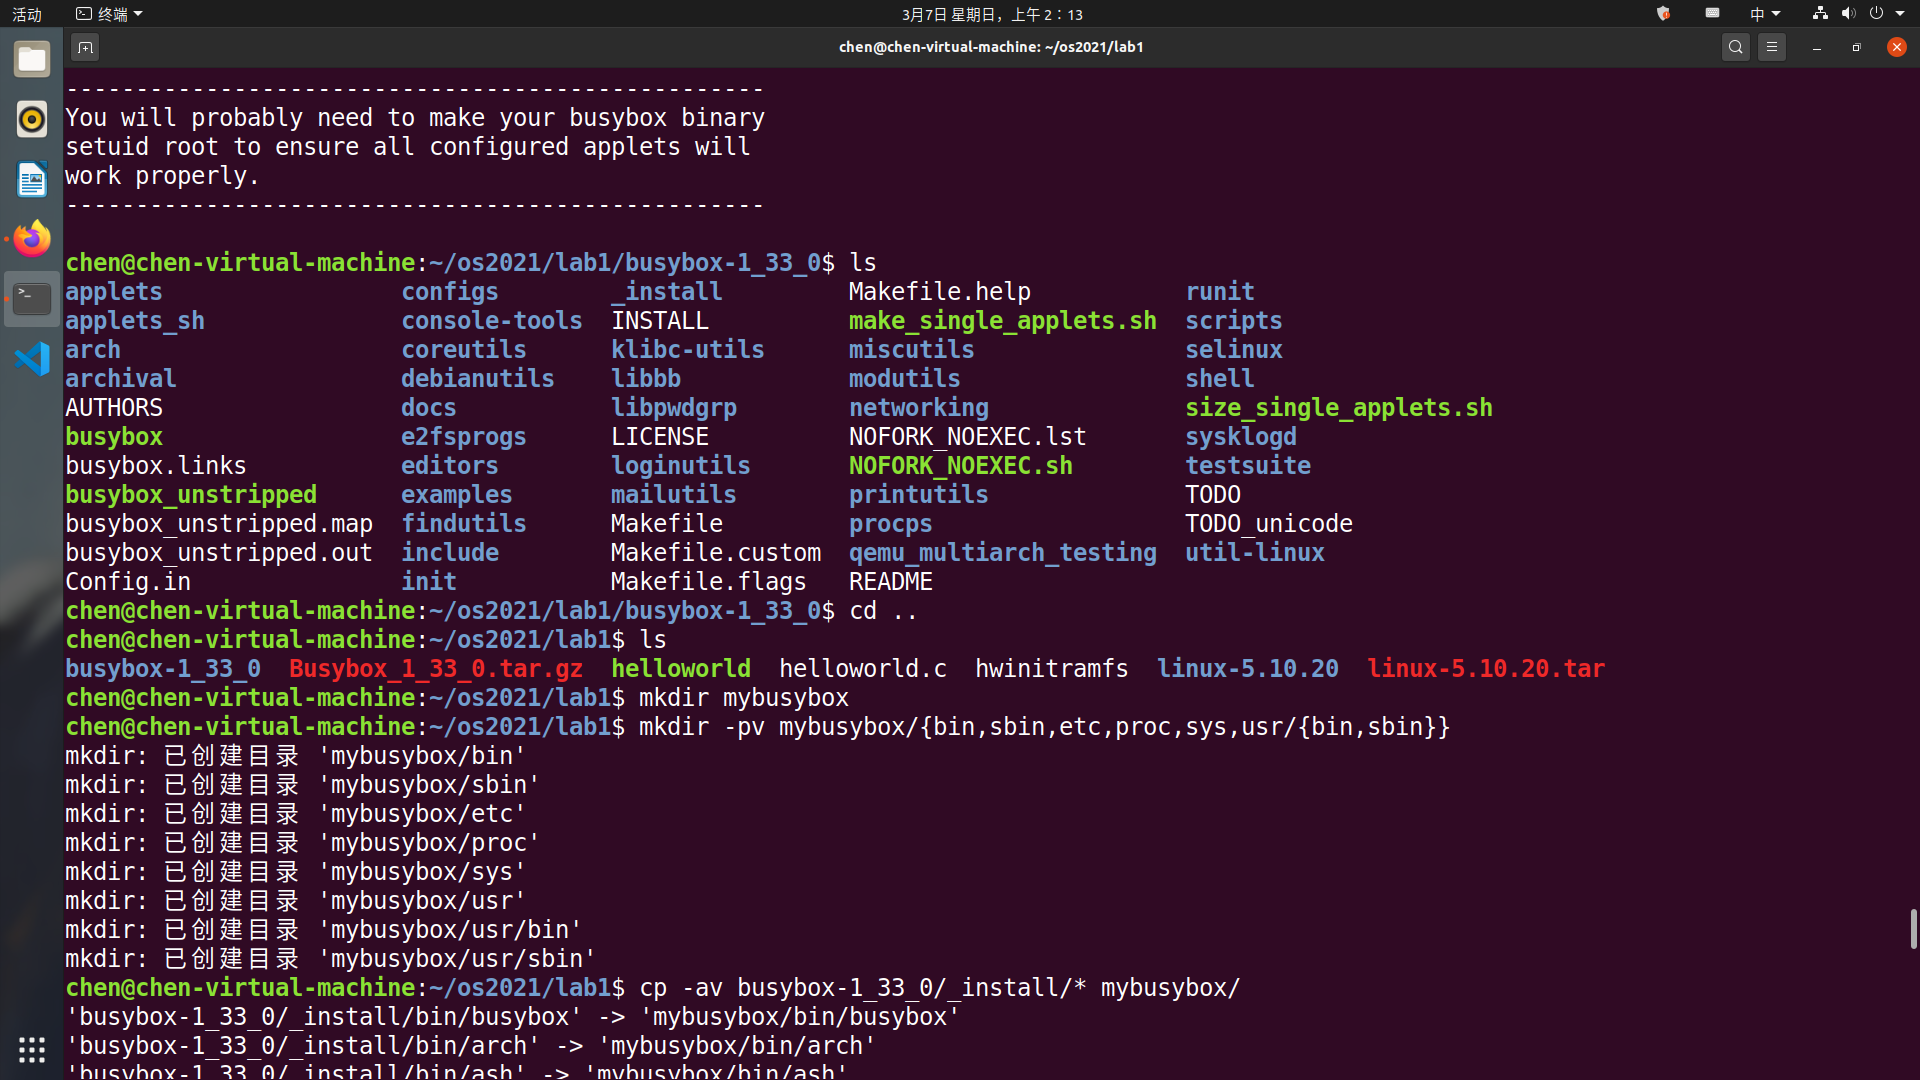
-
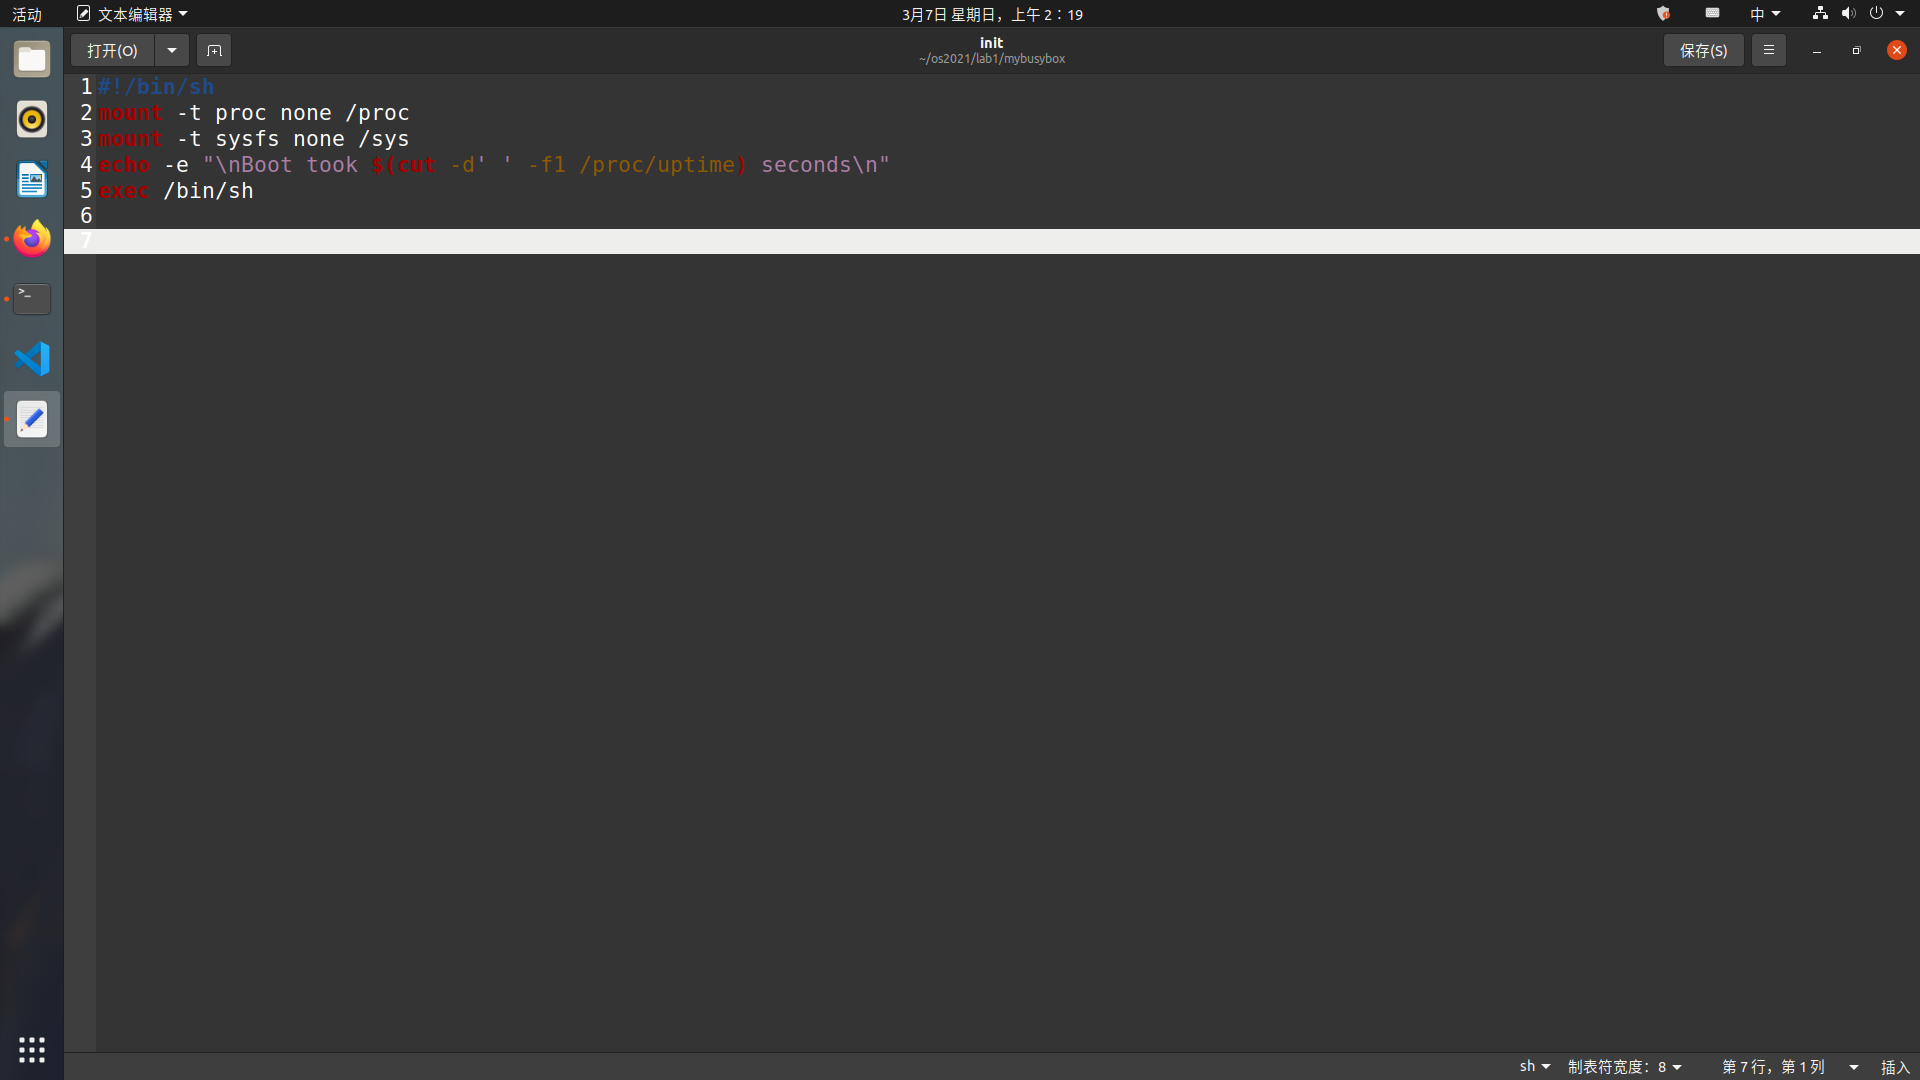
initramfs 需要一个 init 程序,可以写一个简单的 shell 脚本作为 init 程序。用 gedit 打开文件
init,复制入如下内容,保存退出。0 1 2 3 4
#!/bin/sh mount -t proc none /proc mount -t sysfs none /sys echo -e "\nBoot took $(cut -d' ' -f1 /proc/uptime) seconds\n" exec /bin/sh
-
加上执行权限。
0
chmod u+x init -
将 x86-busybox 下面的内容打包归档成 cpio 文件,以供 Linux 内核做 initramfs 启动执行。
0
 find . -print0 | cpio --null -ov --format=newc | gzip -9 > ~/os2021/lab1/initramfs-busybox-x86.cpio.gz
-
-
加载 busybox
0
 qemu-system-i386 -kernel linux-5.10.20/arch/x86/boot/bzImage -initrd initramfs-busybox-x86.cpio.gz -nographic -append "console=ttyS0"
-
内核启动后使用
ls命令查看当前文件夹。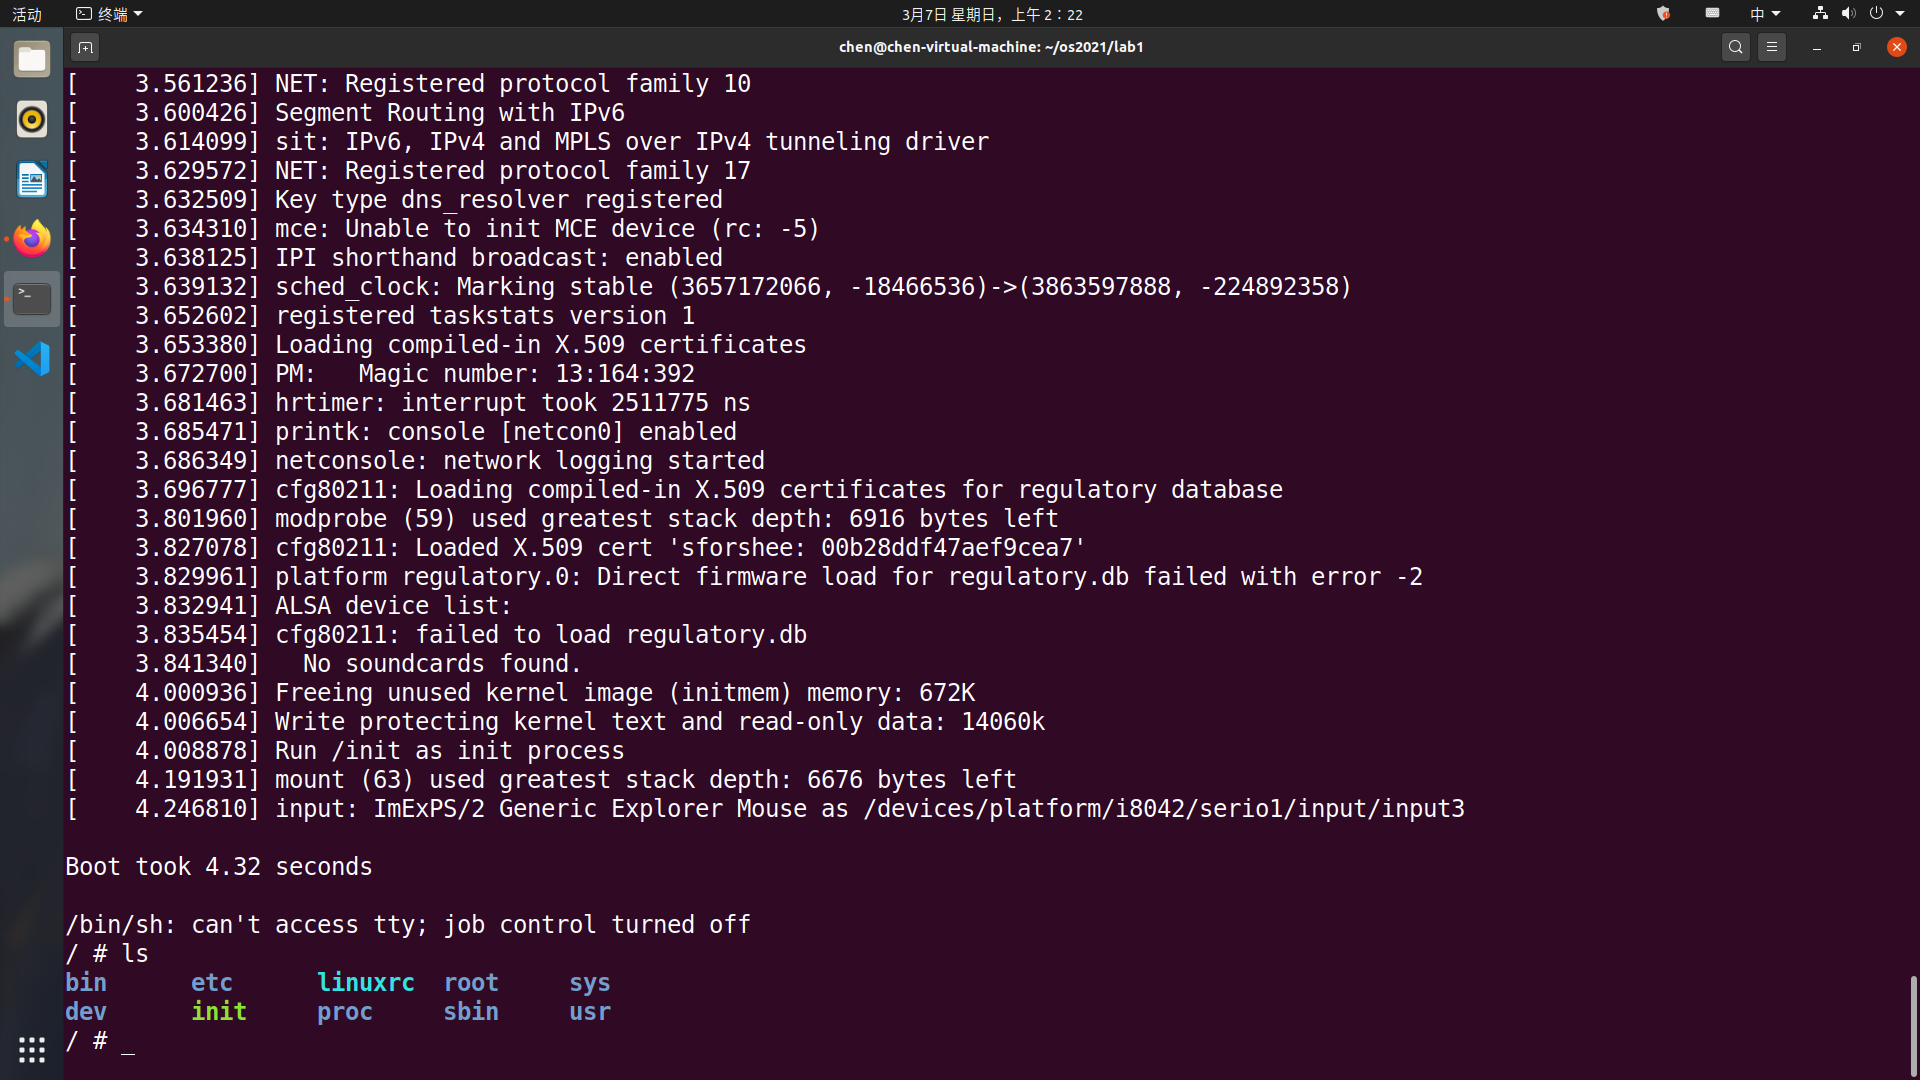
-
退出
退出qemu有两种方法,一种是按下
Ctrl+A,然后按X,另一种是kill掉它的进程。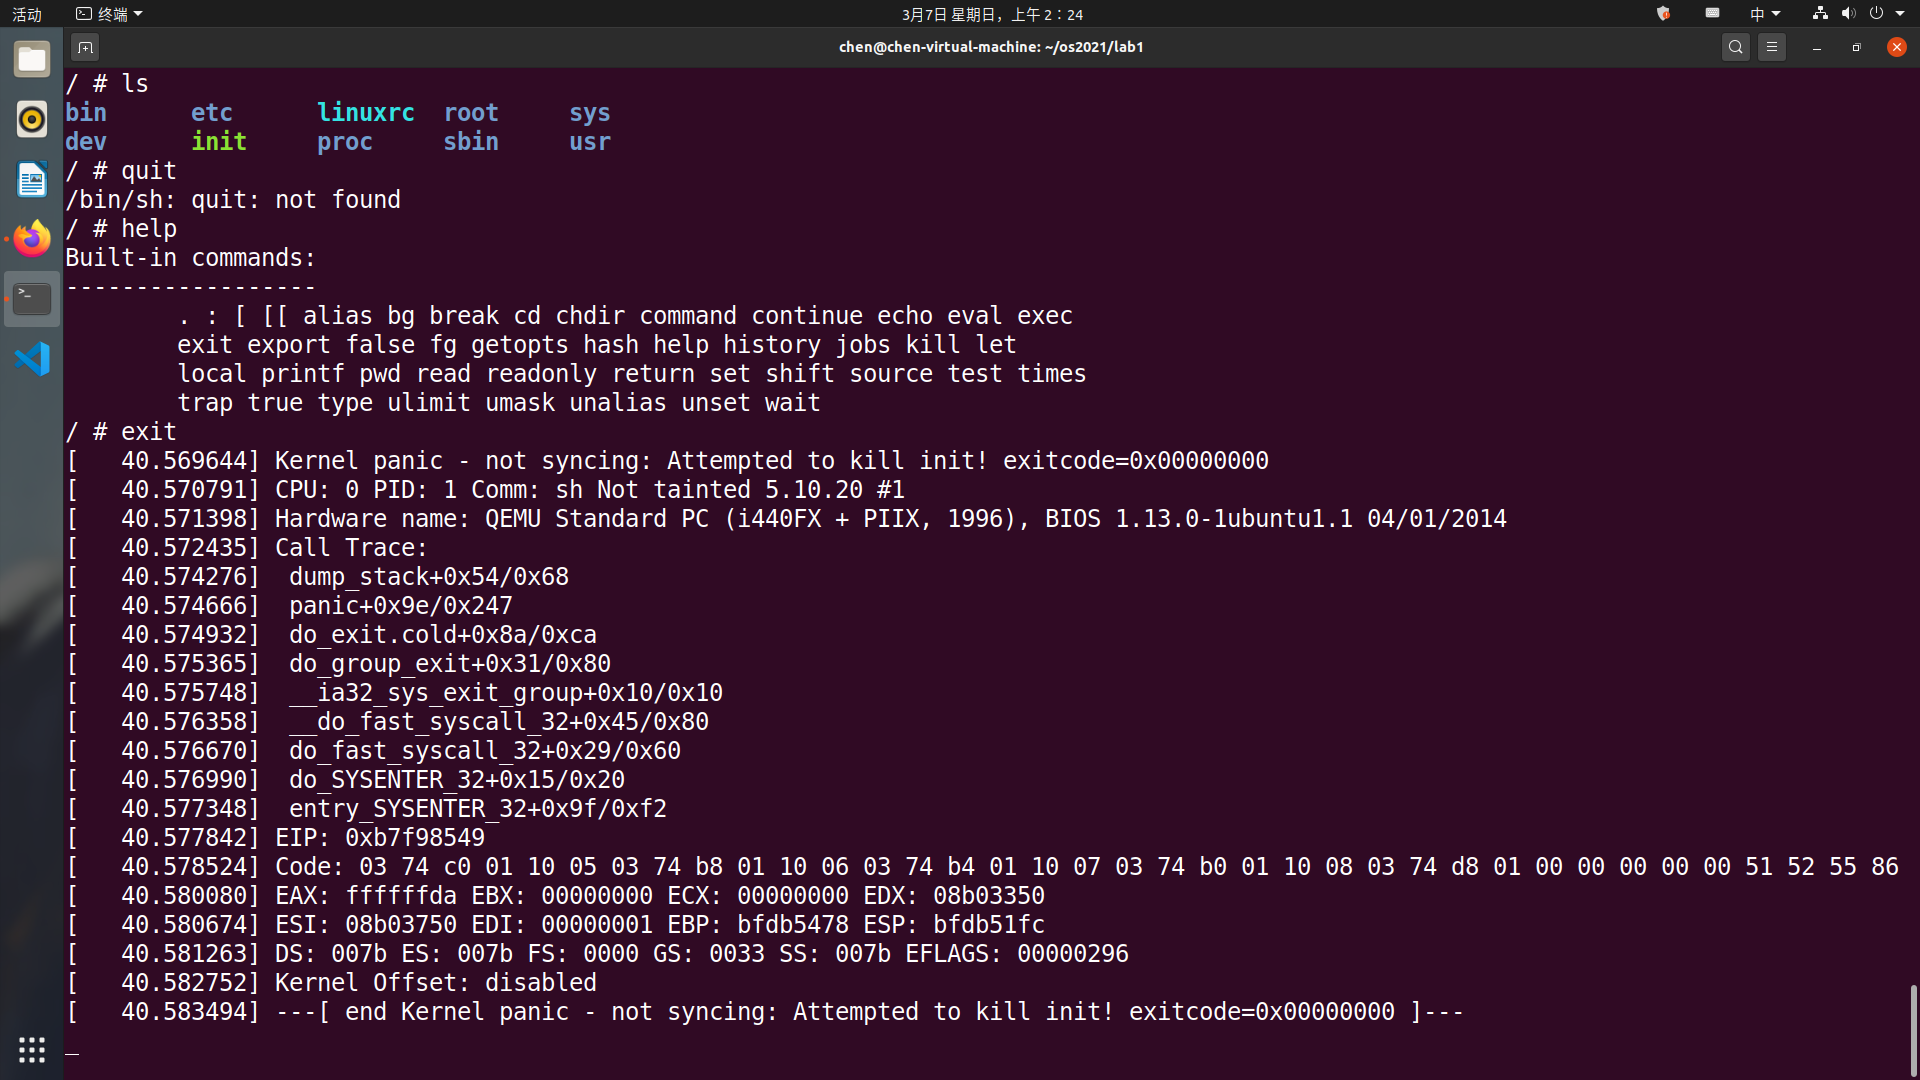
总结
学会了搭建 os kernel 开发环境,使用 qemu 启动内核,制作 initramfs ,使内核启动时运行程序,编译启动 Busybox,使用 gdb 远程调试跟踪代码运行,克服了对 Linux 命令行的不熟悉,熟悉了常用的 Linux 命令,学会了 kill 进程。也了解了一点关于操作系统启动的知识。
参考
https://gitee.com/nelsoncheung/sysu-2021-spring-operating-system/tree/main
This work is licensed under a Creative Commons Attribution-NonCommercial-ShareAlike 4.0 International License.